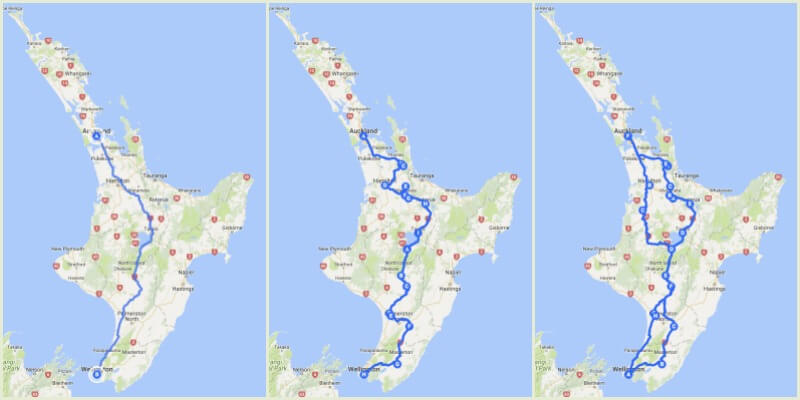
Last update images today Map Auckland To Wellington
 Former All-Star Andrew Miller Hired By MLBPA
Kent 206 for 6 (Leaning 73*, Khushi 53) trail Hampshire 505 for 8 dec (Vince 211, Brown 110, Evison 4-83) by 299 runs
James Vince completed his fourth Vitality County Championship double-century before Hampshire's bowlers cemented the host's advantage on day two.
Hampshire captain Vince showcased the very best of his aesthetically pleasing batting to go from 149 overnight to 211. He was able to declare on 505 for 8, following attacking duo James Fuller's 41 and Keith Barker's 43, before Barker, Mohammad Abbas and Kyle Abbott chipped away with wickets.
Feroze Khushi and Jack Leaning bagged contrasting fifties for the visitors but they ended the day still 299 runs behind on 206 for 6.
Vince had turned the shape of day one with a mesmerising century, and came out for a swaggering encore. He reached 150 with the third ball of the day via the first of eight cover drives, each caressing the middle of the bat and whistling to the boundary.
It was the kind of Vince innings which had it taken place a decade ago would have created a clamour for an England call-up. But despite 1000 runs last season and back-to-back hundreds, his Test days appear behind him.
Ben Brown took his partnership with Vince to 259 - Hampshire's all-time best against Kent for the fourth wicket - before inside edging onto his pads to loop to second slip, before Liam Dawson was bowled by Joey Evison.
Despite Vince's prowess, this was the first time since 2018 that he had scored two Championship centuries in a season, and he continued to smash the ball around Utilita Bowl. His 200 came up in 262 balls, with only Phil Mead, Gordon Greenidge and Jimmy Adams scoring more doubles for Hampshire.
Vince was only quelled on 211 when the tireless Grant Stewart found a trampoline on a length to take the shoulder of the bat through to second slip.
James Fuller and Keith Barker took on Vince's mantel and further upped the run-rate with some aggressive batting either side of lunch. The pair put on an entertaining 69 with both crashing scores in the 40s to keep Kent's bowlers in the dirt. Both were bowled before Vince called Felix Organ and Kyle Abbott in after an unbroken 35 partnership to declare on 508 for 8.
Feroze Khushi, on loan from Essex, was eye-catching in reply. Whether it was the shot a ball, having the ball thrown at him by Mohammad Abbas - who was docked five penalty runs - or insisting that a ball hadn't carried to third slip.
The piece de resistance was a see-it-to-believe-it whipped six over square leg on his way to a 38-ball fifty.
But wickets kept falling. Ben Compton was leg before in the third over to Barker while Abbas ended his first four overs having gone for 31 but hit back with a snorter to have Daniel Bell-Drummond caught behind in a wicket maiden.
Khushi fell over a full Barker delivery, Evison edged Abbas behind before Barker picked up his third when Tawanda Muyeye dangled to Ben Brown. But throughout, Leaning bedded in and found little problem to slowly take his side away from a complete collapse. His fifty coming in 89 balls and ended the day unbeaten on 73.
Harry Finch was sharply caught and bowled by Abbott off the final delivery of the day with Kent miles from avoiding the follow-on.