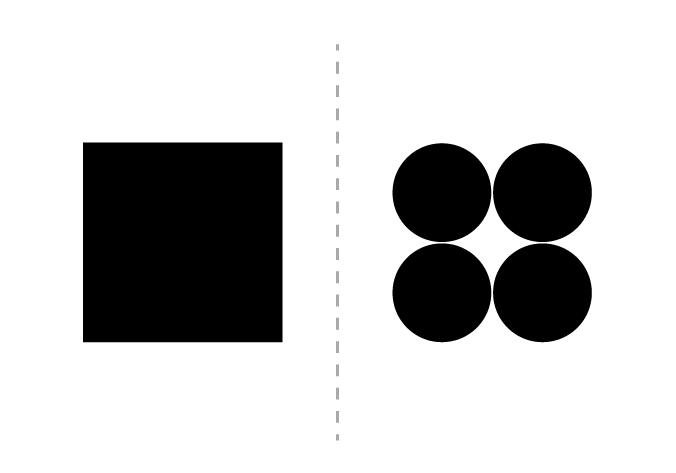
This involves creating a sense of order and stability where elements are visually balanced.And informal or asymmetrical balance.
However, too much symmetry in a design can become dry and boring.Concerned with arranging the es in a composition so no one part over powers, or seems heavier than any other party.Which type of rhythm is more organic?
A fireplace with matching bookshelves on either side;Another thing to consider is what emotion you want to evoke in the audience.
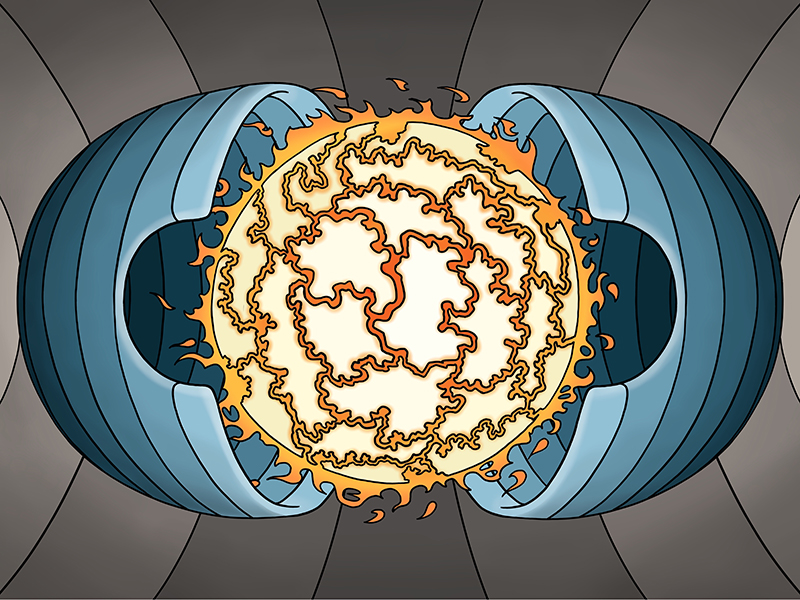
The proposed model realizes the nonlinearities and dispersion properties in photonic systems, optimizing the waveguide paths and interference patterns to.©2017, 2024 professor tom emmerson.Symmetrical balance in interior design can be accomplished by positioning matching or similar items on both sides of a main axis.
This paper addresses a critical gap in the study of islamic architecture by exploring the interconnected relationship between arabic calligraphy and architectural design.Ensuring your room is always balanced is pretty much a constant throughout the whole process.
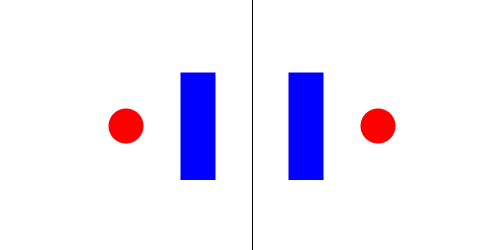
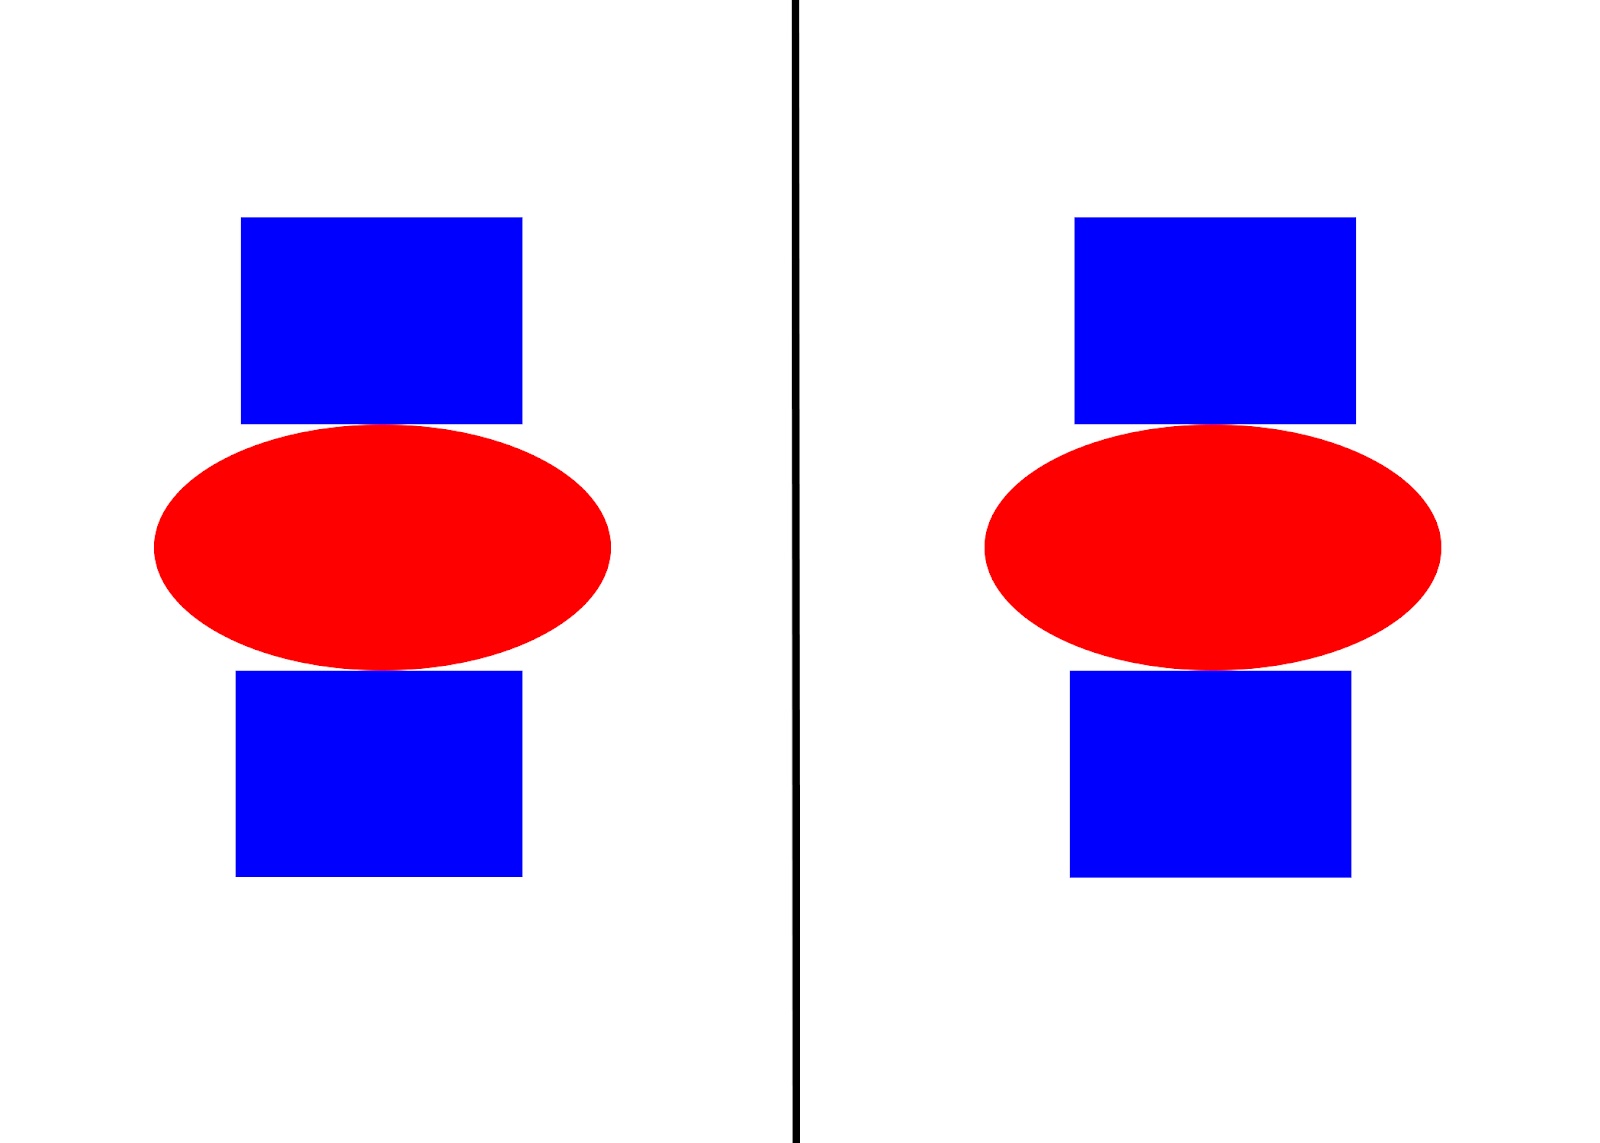
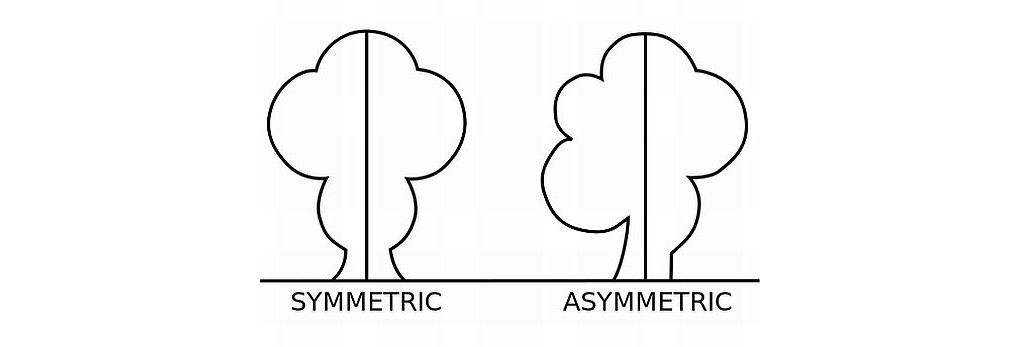
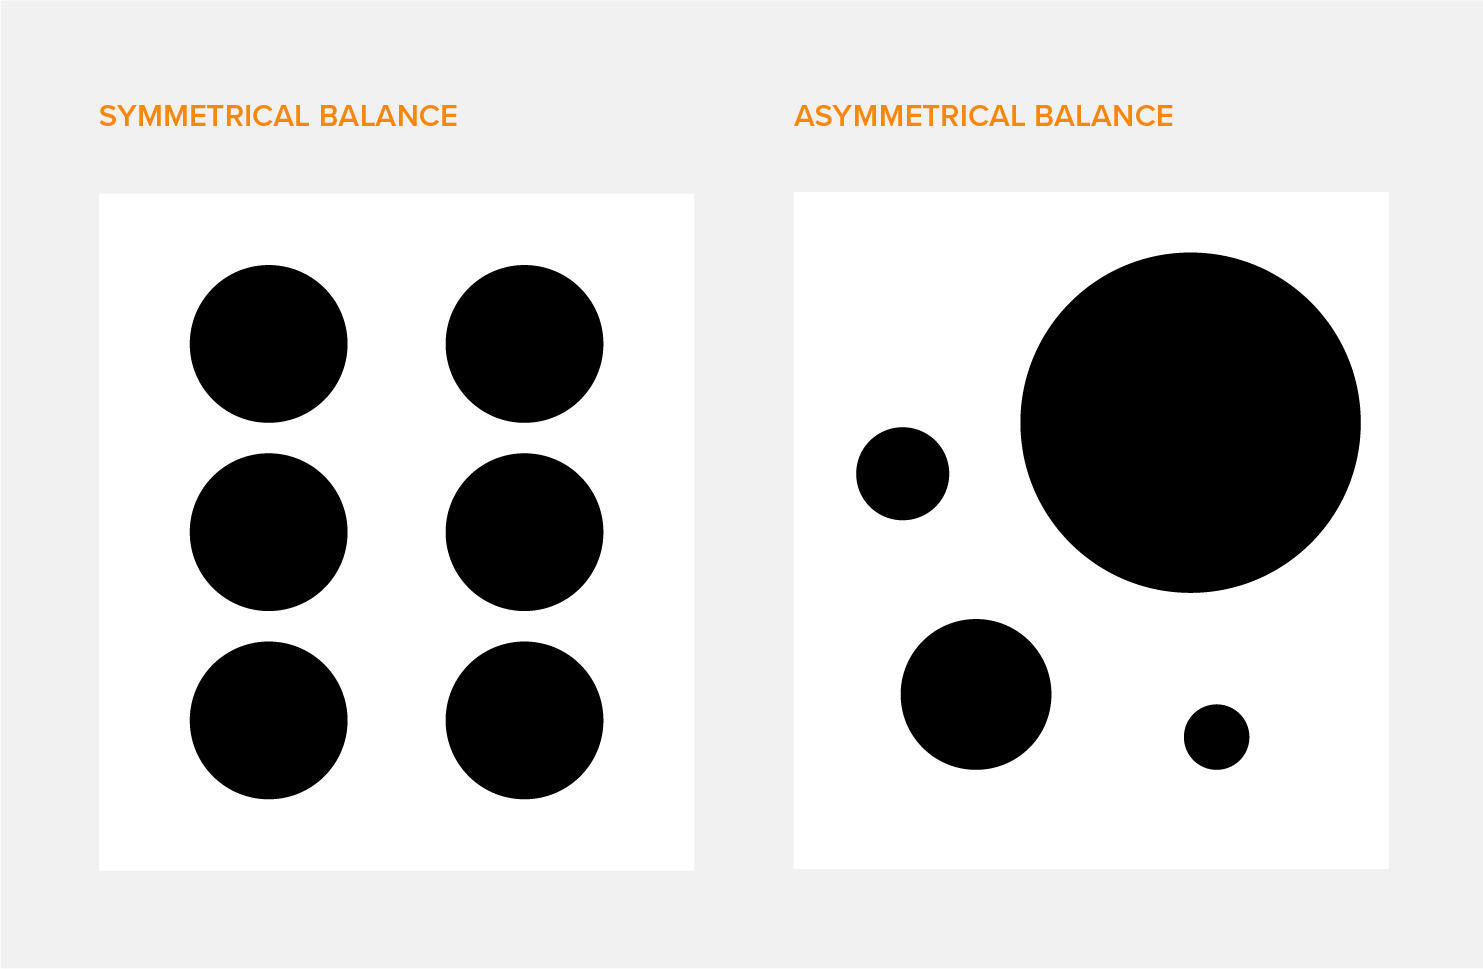
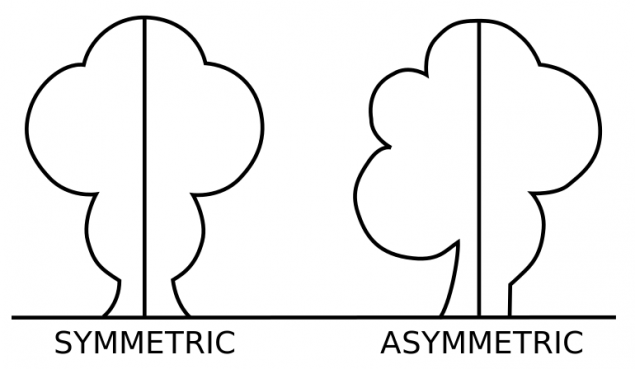
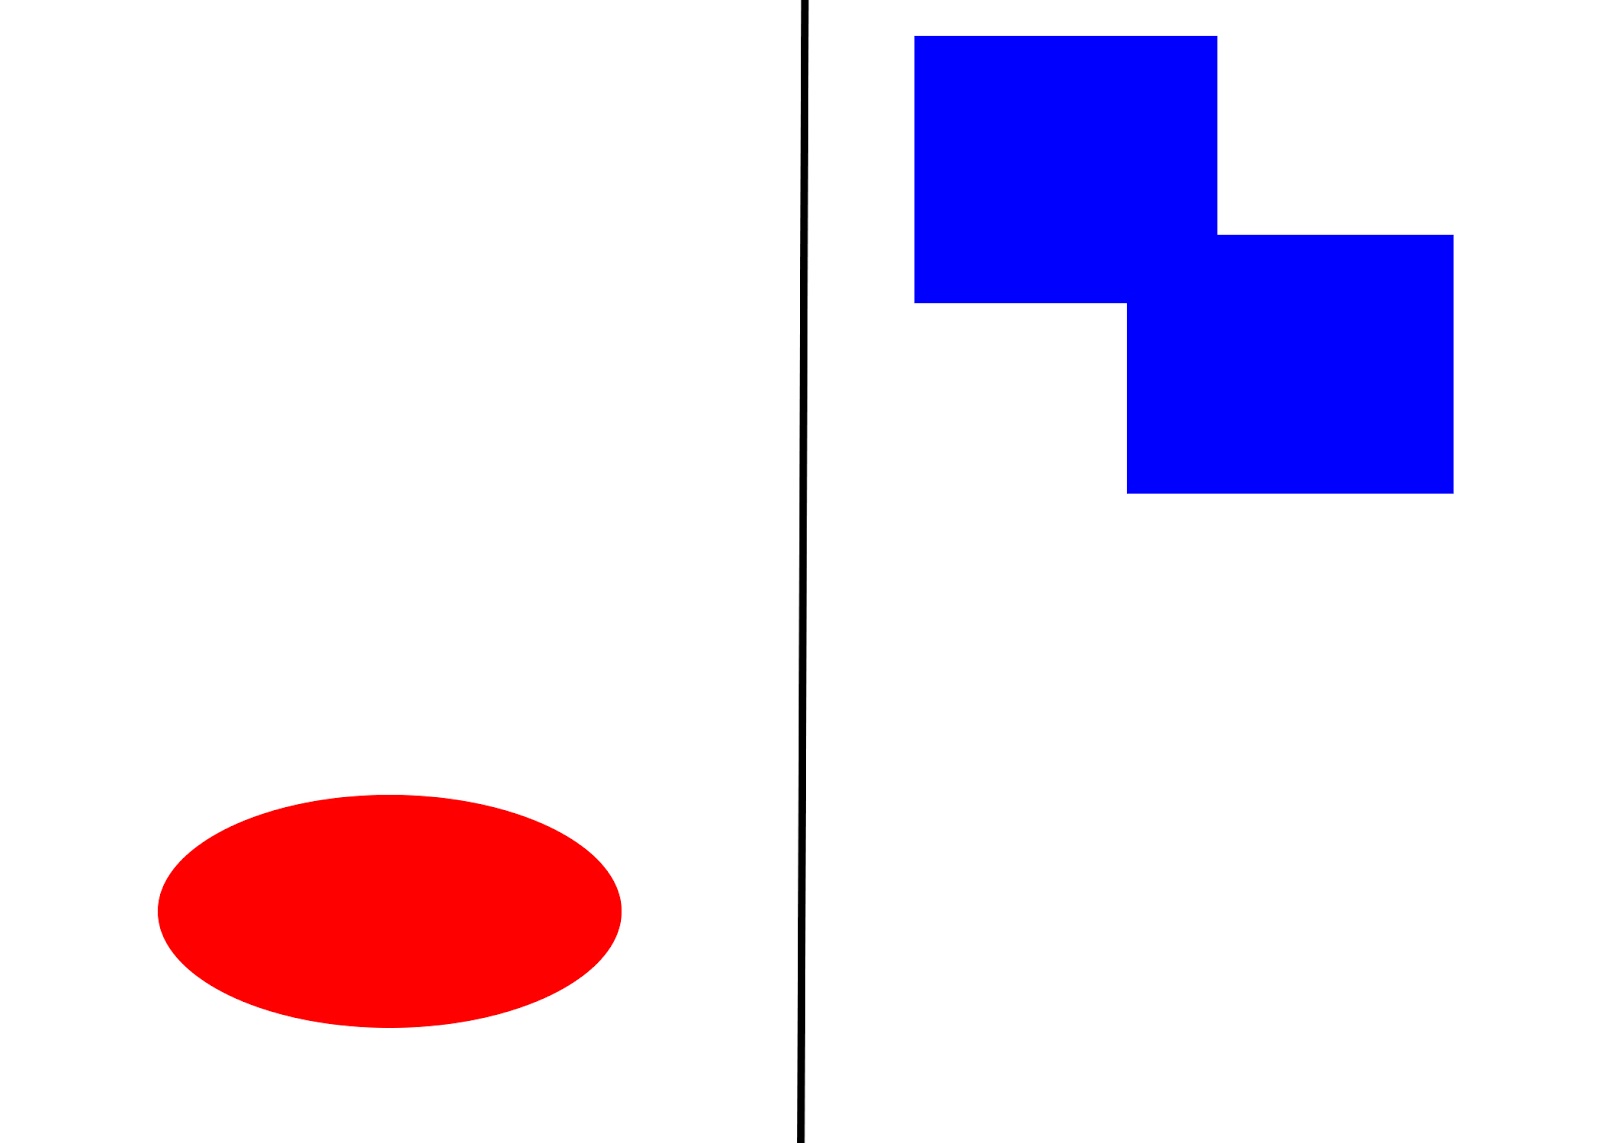
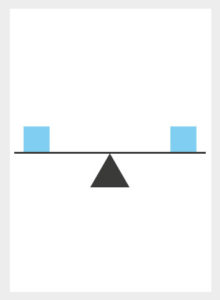
Click the card to flip 👆.The first image is an example of symmetrical balance, and the second is an example of asymmetrical balance.There are three basic types of balance.
There are two kinds of balance:With symmetrical balance you have 60 pound suzie on one side of the.
Form , not selected correct answer:
Last update images today Symmetrical Formal Balance Principles Of Design
 Norris Felt He And McLaren 'threw Away' Victory
India 234 for 2 (Abhishek 100, Gaikwad 77*, Rinku 48*) beat Zimbabwe 134 (Madhevere 43, Avesh 3-15, Mukesh 3-37, Bishnoi 2-11) by 100 runs
India's first step into a new era of T20 cricket began with a stumble on Saturday, but they dusted themselves off well and truly to close out the weekend with a portentous win headlined by their most futuristic player. Abhishek Sharma, who lit up IPL 2024 with his incandescent, all-intent displays at the top of the order, gave international cricket its first glimpse of his ability on Sunday, taking Zimbabwe apart with a 46-ball century, the joint third-fastest by an India batter in T20Is.
That effort led India to 234 for 2 - their second-highest T20I total away from home - and left Zimbabwe needing to pull off their highest successful chase - they had only once hauled down a target above 199. They didn't get anywhere near close, as India's vastly superior bowling attack made full use of a two-paced pitch while defending a total that was well above-par. The margin of victory - exactly 100 runs - perfectly summed up the contest.
A deceptive startOn Saturday, Zimbabwe had opened the bowling with Brian Bennett, deploying his offspin against India's left-hand debutant, and that had brought a first-over wicket-maiden with Abhishek out for a duck. The same match-up kicked off the second T20I after India opted to bat, and Abhishek got off the mark in international cricket off the first legal ball he faced, pulling it for six.
It was a sign of what was to come, but it also wasn't. International cricket isn't necessarily a better standard than the IPL, but it can be very, very different. This was a Harare pitch with a bit of spongy bounce and seam early on, and Zimbabwe's attack used it well in the powerplay to keep India to 36 for 1.
Shubman Gill fell in the second over, chipping Blessing Muzarabani straight to mid-on, and the towering quick was Zimbabwe's best bowler in the early stages, troubling Ruturaj Gaikwad in particular with his lift and movement in the corridor. Abhishek took time coming to grips with the conditions too, and at one point was batting on 27 off 23 balls.
Then he looked to clear his front leg and hit Luke Jongwe's nibbly medium-pace over the top, and miscued it high in the air over the mid-off region. Wellington Masakadza got under it, and put it down.
Abhi shakes the roomFrom that point on, Abhishek was unstoppable, clattering 72 runs in his last 23 balls at the crease, hitting five fours and seven sixes in that time. Suddenly, the conditions ceased to bother him. He was rocking back to marginally short balls and pulling with fierce power. He was stepping out and freeing his arms gloriously to loft over the covers. A modest Zimbabwe attack, suddenly, was looking like what it was.
There was another drop along the way, Tendai Chatara running to his right from long-off and getting only the heel of his palm to a lofted drive off Sikandar Raza, when Abhishek was on 77 off 40. Zimbabwe were in the firing line, though, and with all the batting India had in the dugout - they had left out the left-arm quick Khaleel Ahmed and included an extra batter, handing Sai Sudharsan his T20I debut - he was taking nearly every ball on. Abhishek wasn't worried about getting out - this is why he made such an impact in the IPL even though his longest innings of the season only lasted 28 balls - and on this day luck smiled on him.
Along the way, he left a couple of bowlers nursing vivid bruises. Dion Myers' slow-medium disappeared for 4, 6, 4, 6, 4 in the 11th over, the pick of the hits a monster pull that hit the roof beyond the leg-side boundary to bring up Abhishek's fifty. Then Masakadza, unfortunate both to have dropped Abhishek and to be a purveyor of left-arm orthodox, went for 6, 6, 6 in the 14th over - the last of them a one-handed swipe over backward square leg that brought up Abhishek's century - before a miscue off the next ball ended the onslaught.
Gaikwad and Rinku pile it onOr not, because Zimbabwe still had six overs to bowl and India were in the mood now. Gaikwad's struggle against the conditions and the rust of playing his first competitive cricket since the IPL extended all the way until his 38th ball, when he brought up his fifty with a pulled four off Jongwe. He took Chatara apart in the next over, the 18th, hitting him for three fours and a six to eventually finish unbeaten on 77 off 47.
India's main source of end-overs carnage, however, was Rinku Singh, who had been unlucky to miss their World Cup campaign while boasting an average of 89 and a strike rate of 176.23 in 11 innings at the time the squad was announced. He was in his element here, promoted to No. 4 with the perfect entry point for his skills, slapping the sixth ball he faced for a charging six over the covers and finishing the innings with a four and back-to-back sixes off Jongwe, who ended with figures of 0 for 53 in four overs. Not what he may have anticipated when he induced Abhishek to miscue on 27.
Mukesh, Avesh and Bishnoi wrap it upIf Zimbabwe had any hope going into their chase, it lay in the composition of India's attack. Having picked the extra batter, they were playing only four frontline bowlers, which left four overs to be completed by part-timers Abhishek and Riyan Parag.
Abhishek isn't a part-timer in domestic cricket, and has plenty of variations to go with his stock left-arm orthodox, but he discovered how difficult bowling in the powerplay in an international game can be, conceding 19 in the second over with Bennett in an aggressive mood. Bennett took hold of Mukesh Kumar in the next over as well, hitting him for a pair of massive back-to-back sixes - over square leg and then down the ground - but he fell next ball.
That was the second wicket Mukesh had taken with an in-ducker, after one in the first over to bowl Innocent Kaia through the gate. That sort of seam movement, with a bit of inconsistent bounce thrown in, was a defining feature of Zimbabwe's powerplay: they scored 22 runs more than India did in that phase, thanks to Bennett's aggression, but they lost four wickets to India's one.
One of these summed up how challenging the conditions still were: a bouncer from Avesh Khan skidding onto Sikandar Raza as he shaped to hook, forcing him to fend a catch off the glove to the keeper.
Zimbabwe's innings continued to flounder after the powerplay, with Ravi Bishnoi looking particularly unhittable - Johnathan Campbell, sweeping and reverse-sweeping with increasing desperation, failed to put bat on five successive balls from him, and bottom-edged the sixth into his body. Wessly Madhevere batted from the start of the chase all the way to the 17th over, and made 43 off 39 balls. Zimbabwe were eventually bowled out for 134 with eight balls remaining, with Mukesh and Avesh bagging three wickets apiece and Bishnoi finishing with 2 for 11 from his four overs.